Lesson Plan: Create a Micro-Composter in a Bottle
Invite students to learn about the composting process.
Give your students a lesson in the power of composting with this fun lesson plan for grades 1-6! They’ll make a micro-composter in a bottle to explore the process of decomposition. In the end, they’ll understand how a composter works and be able to explain the benefits of composting.

Here are the general steps of the micro-composter in a bottle lesson plan. Print the PDF below for a full materials list, a worksheet, and tips for using this lesson with your class.
1. Engage: Introduce the Topic
Teacher: What do students know about the process of composting? Prompt students by using images or videos of compost bins. Write notes and questions on chart paper to refer back to throughout the project.
Student: Discuss the compost bin and what happens to any materials put inside. What questions do you have about composting and decomposition?
2. Explore: Go to the Lab
Teacher: Give your students a jump-start by preparing your bottles for the micro-composter. Cut the top off a plastic bottle, about three inches below the neck. Then cut a second bottle about four inches from the bottom. Place air holes in this second bottle—a thumbtack works great. Do this with several bottles, so they are ready for student assembly and graphing.
Student: Assemble the micro-composter by turning the second bottle upside down and filling it with organic material (mixing food scraps, soil, paper scraps, etc.). Then place the inverted top of the first bottle into the bottom of the second bottle. Secure the pieces together with packing tape. Now record the temperature and weight of organic material. Every other day, draw and label a picture of the organic material and record the temperature and weight of the bottle. Once you have enough information, put it into graphs.
3. Explain: Take Notes
Teacher: Use student observations and data from tracking the temperature and mass of the compost to explain the process of decomposition. Create a class poster of vocabulary words and their definitions.
Student: Use the data collected and the vocabulary words to explain what happened to the materials in the micro-composter in a bottle.
4. Elaborate: Review and Extend
Teacher: Ask students to respond to questions about the lesson (samples below) in writing or through a class discussion.
- How does what happens in a compost bin compare with what happens in nature?
- Why do cities and towns have green waste and composting programs?
- Why would it be important for them to collect organic materials separately from garbage?
Student: Think about why you think it’s important to compost. Discuss your ideas as a class or write them on your own.
5. Evaluate: Check For Understanding
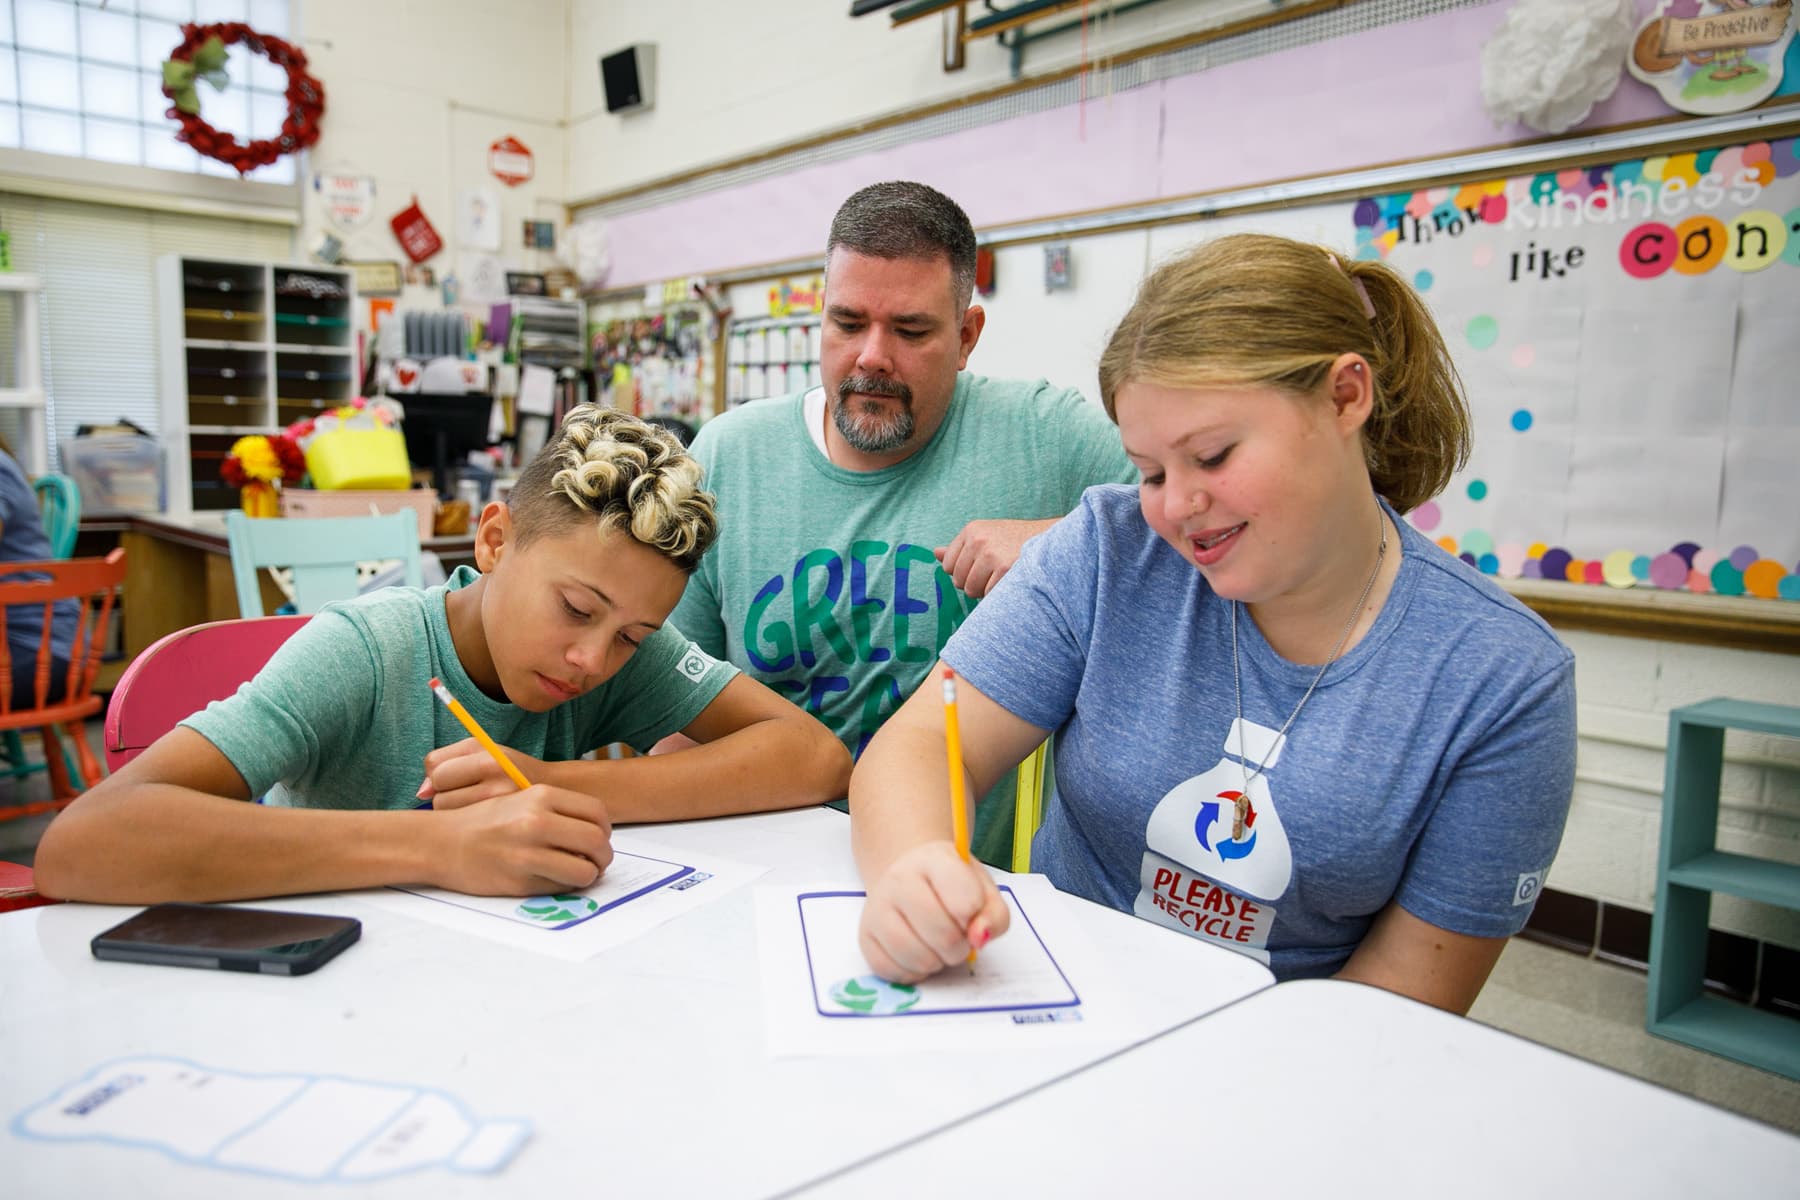
Teacher: Using the worksheet, have students draw a series of pictures with labels. Have them explain the decomposition process from their observations on the worksheet.
Student: Use the data and information from your notes for the final step in this project. Be sure to use the right vocabulary words.
Love this lesson plan? Here’s another one on Building Recycling Bins to try!
Micro-Composter in a Bottle Lesson Plan (Grades 1-6)
Learn More

Recycle Rally
Recycle Rally is a free K-12 program that provides rewards and tools to help enhance recycling at your school!
Explore now
Additional Resources
Our comprehensive library of resources was designed to inspire the next generation of green leaders.
Explore now

